Wyze Cam Notes

A year or so ago I bought a Wyze Cam to try out. I’d wanted an IP camera for a while, but with the exception of a ~$15 Gearbest special, I’ve deemed them all too expensive to experiment with. The Wyze Cam was different. It had a good reputation, and was available for $20 + shipping. So, I bought one. My first impressions of the hardware and image quality were favorable, the software, less so.

It’s clear to me that Wyze was trying to differentiate itself on a combination of low price and ease of use. They focused on a few simple scenarios as a route to ease-of-use. The Wyze Cam wasn’t/isn’t a typical security/surveillance camera, intended for watching home and exterior property. Instead it was more a personal, indoor surveilance camera. The Wyze Cam debuted as the sort of thing you could use to check in on your child sleeping or playing elsewhere in your house, or see which of your dogs was knocking stuff off the kitchen counter.

The software, both the camera firmware, and the smartphone app needed to access the camera, was basic, but capable enough to serve these scenarios. The camera firmware could identify motion using crude techniques. The firmware used the motion detection capability to trigger a cascade of events. Motion triggered the camera to upload 5s of video before the motion was detected and 5s after to Wyze’s cloud service. It could also store the same video locally, if there was an SD card on the camera.

Their cloud service can send notifications of new video clips to the smartphone app, from which the stored video can be viewed. The app also allows viewing of the live stream remotely over any Internet connection, can view video stored on a self-provided TF card in the camera itself when on the local network, and also allows viewing of video clips stored in the cloud over the previous two weeks.

Wyze was successful in delivering these basic features, but the overall experience was a bit clunky. Getting the camera connected to my local WiFi was relatively painless, and once connected, access when I was away from home just worked (except for a few occasions when it didn’t work at all). Accomplishing things in the app often took more steps than seemed necessary and some actions were hit-or-miss.

The (free) cloud service also imposed limits on how often video clips could be uploaded, presumably in order to manage the cost to Wyze of offering the free service. After a clip was recorded, the camera waited ~10m before motion could trigger recording of a different clip. This would probably be fine for keeping watch on the interior of one’s home while away at work, or vacation, but, combined with other limitations made the camera considerably less useful for keeping watch on the outside.

The camera firmware allows some coarse tuning of the motion detection. You can adjust how much the image has to change before triggering. You can also limit motion detection to a (rectangular) subset of the camera’s field of view. The utility of these limited settings really depends on the specifics of the scenario you are trying to accomplish. If you want to keep close track of who visits your porch, you can limit the motion detection region and turn the sensitivity down enough to minimize false positives from car headlights, the sun going behind a cloud, or moths flitting around, but then you loose any utility for seeing who is leaving dog crap in your yard.

Another limitation is that browsing the video stored locally is clunky. There is no way to scrub though in faster than realtime. You just have to jump forward manually and wait for the network to catch up. If you want to see more than 10s around a motion event you have to take note of the time of the triggered event, then switch to viewing stored video, then navigate to the proper time — there is no shortcut to jump from a stored 10s to the same time in the locally stored continuously recorded video with a single tap.

These limitations were enough that I stopped using the camera and just left it running on the assumption that if some event was severe enough, like, say, an animal sacrifice on my front lawn, I might go to the trouble of trying to find and view whatever the camera captured.

That assumed that the camera captured anything at all. I had trouble with the camera crashing or loosing track of the TF card and not recording video again until I noticed and rebooted the camera, and/or ejected and reinserted the card.

There have been some other severe annoyances, too. You have to log-in to Wyze’s service to use your camera, even though the only scenarios that require an account are sharing access with another person. Worse, the login expires after some number of days without use. Once your login expires the app doesn’t take advantage of FaceID on iOS for a quick login; you have to type your password in.

Recently, after more than six months of disuse I decided to try the camera again — I’d grown fed-up with people leaving their dog’s bagged crap in my waste bins, particularly when they put it in the recycling or yard waste bins.

Logging in to the app is still more tedious than it should be. Some operations are smoother and less hit-or-miss than they were, but I still find that a number of actions take more steps than they really should.

In the end, the Wyze Cam didn’t catch anyone in the act, but it did catch someone behaving like someone might if they were about to put poorly-bagged dog crap in my yard waste bin before the clip cut out.

It’s still tedious to review the continuously captured video from the TF card. Pulling the TF card is difficult, because of where and how the camera is mounted, so I’m limited to using the clunky, slow UI in their iOS app. I can’t download an hour or days worth of video quickly to my phone for easier/faster review using a native UI on my phone or computer; I can only “record” the stored video in real time. — if I want to download an hour worth of of video, I need to start “recording” in the app and leave it running for an hour. Ridiculous.

Wyze has made one major improvement since I first got the camera, though. Earlier this year they added “person” detection to the firmware, using software licensed from a third party. Once enabled, it works by waiting for the camera to detect motion, then software running on the camera does further processing to see if the captured footage contains a human being (generic). If it does, the captured clip is marked as containing a person. Notifications can then be limited to clips that contain a person. The list of captured clips also notes whether or not a person is detected.

I want to underscore a few important details about the person detection. First, it runs entirely on the camera, which means that it isn’t being used to help train some big tech companies Artificial Intelligence brats, like some sequel to the Handmaid’s Tale (unless you submit clips for review on an individual basis). Second, doesn’t identify specific people, just the presence of a generic human being.

The accuracy is quite good, too. I’ve seen very few false positives (detected a person when there is no person) or false negatives (didn’t detect a person when motion was detected and there was a person in-frame).

The motion detection works well-enough that I’ve turned on notifications. At this point, though, more than half of the people detected are walking by with dogs, which isn’t something I need to know about right away. I think i’m going to adjust the motion detection region and limit it to my porch. I won’t be able to use the camera to catch dog crap offenders, but it’ll be good for checking to see who is at the front door, and what packages have been delivered.

Wyze does still have the option of making their camera useful for outdoor surveillance. My understanding is that the crude motion detection is a result of the limited motion detection support provided by the SoC (system on chip) and the SDK the manufacturer provides. The SoC isn’t very powerful, but the fact that it can run person detection algorithms in near realtime means that it is powerful enough to do simpler image processing. It should be possible to filter motion detection through non-rectangular regions, and/or adjust and apply the detection sensitivity on a region by region basis. It should also be possible to better filter false positives caused by insects attracted to the camera’s infrared illuminator LEDs at night.

For $20, Wyze Cam is an interesting product, and it is even a useful product for some scenarios. If my dog was still living, I’d probably have a few Wyze cams just to see what it does when we aren’t at home and it wasn’t sleeping. I may be picking up a few more Wyze Cams soon though, because we’ve started thinking we might be ready for new dog.

Amutorch AX1 Quick Look

I just received a newly-released flashlight from Banggood. It’s called the AX1 and it’s made by Amutorch.

It has a thoughtful, attractive design, and the overall execution is great. But the example I received has a few flaws that really detract from the experience.

First though, some quick observations:

  • Unusual, attractive, well executed, two-color design.
  • Attractive body form, with thoughtful, unconventional, functional details.
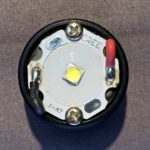
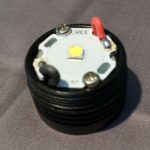
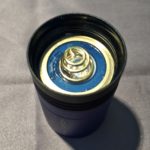
  • Large, 22mm, reflector for a 18650 tube light without significant added exterior bulk.  I measured the outer diameter as 25mm, which is just ~1mm larger than a Convoy s2+. The inner diameter of S2+ reflector, though is ~17mm, 5mm smaller than the AX1s. As another point of reference, the Zanflare F1 has an ~20mm reflector, while the OD of the bezel is about 27mm, and the max OD of the whole light is closer to 30mm.
  • Good action on the reverse-clicky switch.
  • Modes seem good. The AX1’s low is pretty close to the low on a Convoy S2+ with an 8×7150 3/5 mode driver. The high/turbo is similar to other ~3A ~1000 lumen lights. There is strobe, but it is pretty well hidden. It has mode memory.
  • The beam pattern is quite nice. Much less floody than a standard S2+ with an XM-L2 emitter and an OP reflector. At 10-15′, the hotspot and spill are much closer to an S2+ I modded with an XP-L HI and a SMO reflector, but the AX1 has nicer smoother, corona with less tint shift, though not as nice as it would be with an OP reflector.
  • I’d call the color temperature neutral white and without an objectionable tint.

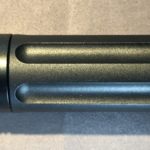
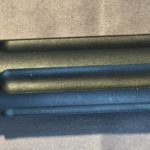
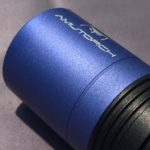
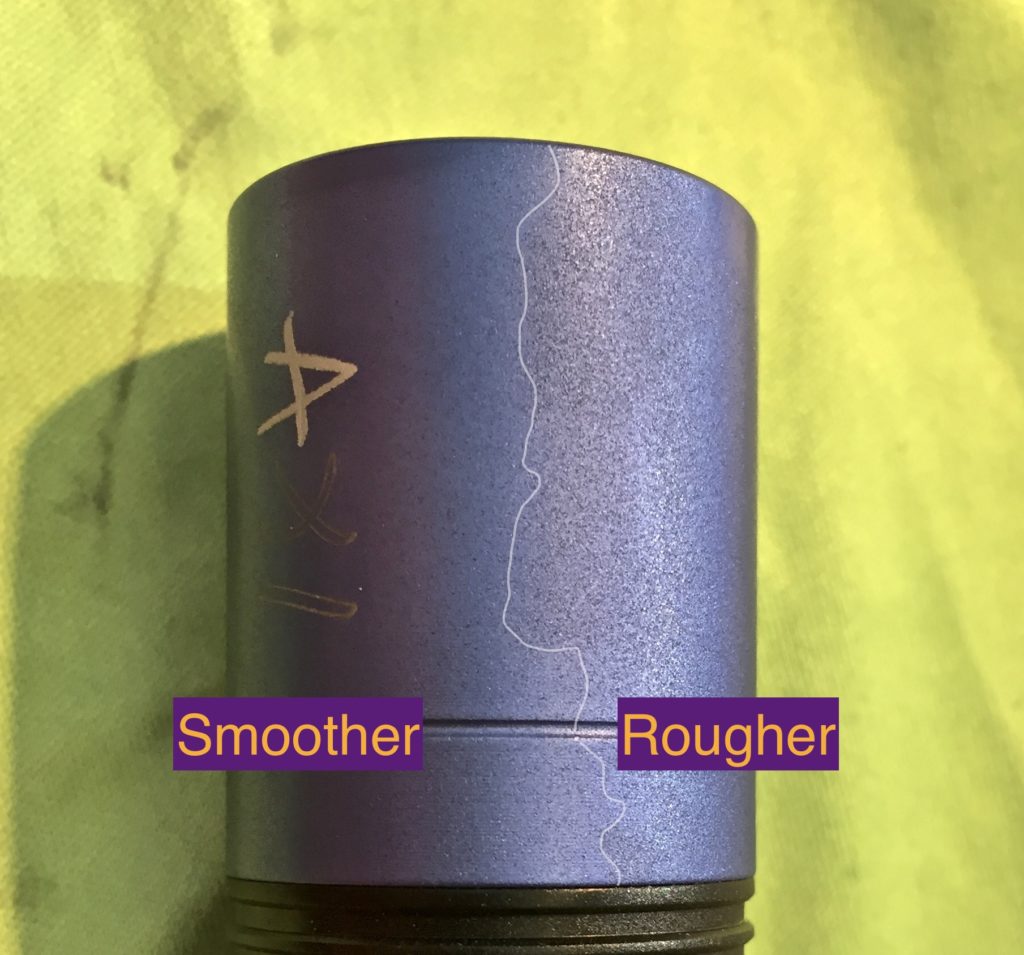
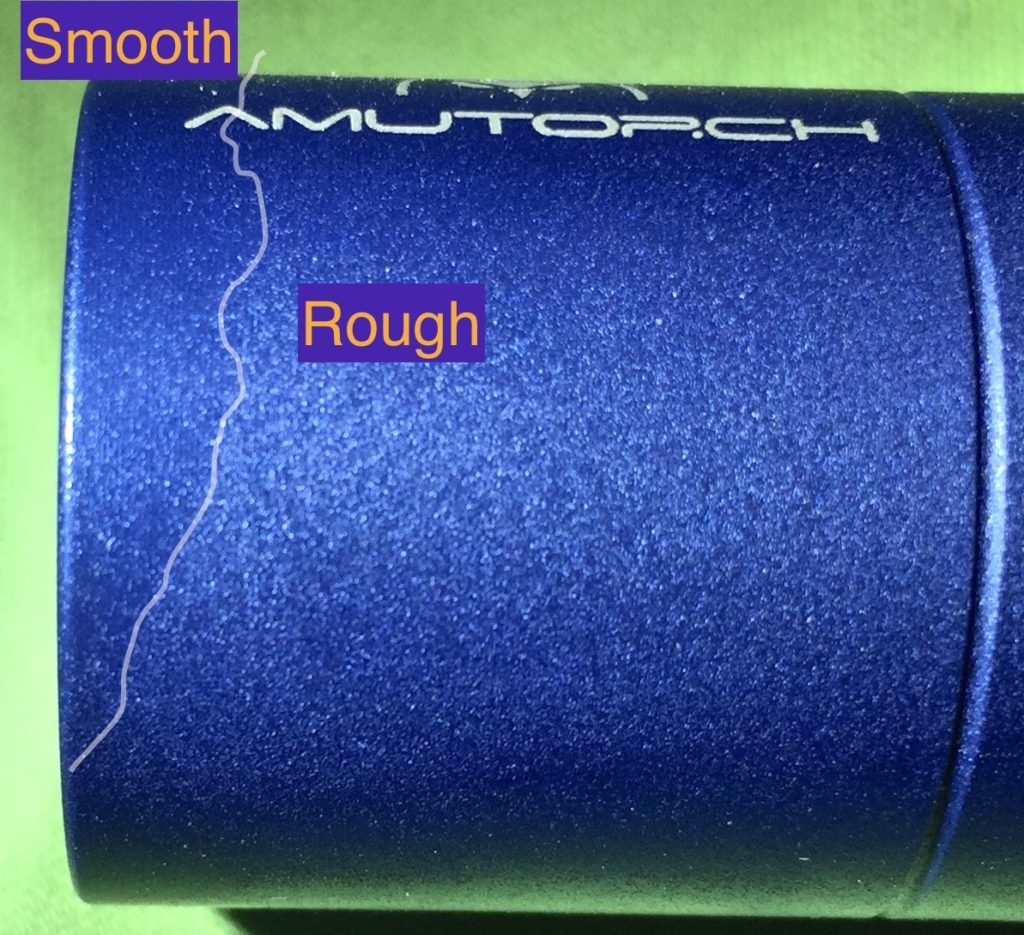
Now, for the big problem with the AX6 I received: The surface texture on the blue head and tail pieces is visibly, glaringly, uneven. I had some trouble photographing it, but it is quite apparent when you have the light in hand. When I first saw it, I thought/hoped that it was some surface schmutz. It isn’t, it’s the metal.

Note the machine marks on part of the piece. This is one of multiple areas where the surface texture is inconsistent/in-complete.

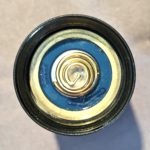
It looks like it was supposed to receive some sort of uniform finish, like bead or sand blasting, but some areas were barely touched, so the machining marks are obvious. It doesn’t seem very even over the length of the head either, nor is it consistent around the axis. The problem is most obvious on the head of my light, but the tailcap also has similar but more subtle problems.

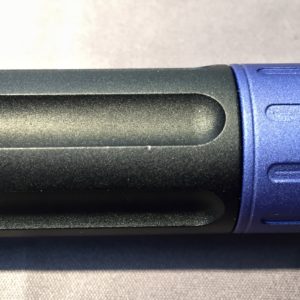
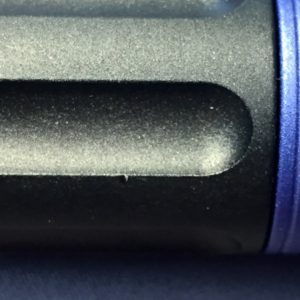
In addition, there were a few nicks on the body. The photo above shows the largest of them. These are unfortunate, but the truth is with a weeks use, I probably won’t be able to distinguish them from other wear and tear. The inconsistent finish is going to be obvious for a long, long time.

So, bottom line, this is a nice flashlight for $20-25 if the surface finish is as it should be. Mine isn’t. So I’ll be asking them to replace the faulty parts, if not the whole flashlight.

H&V HV-50 TDA7892 50W/channel Class D Amplifier Teardown

I noticed that Banggood just listed the H&V HV-50 TDA 7492 Class-D amp on their site for $59.99 with “Priority Direct” shipping to the US from China. This reminded me that I’ve been remiss in posting anything more about the HV-50 amp I ordered on eBay last summer for ~$35.

After ordering it, I was a bit worried I’d been scammed, because the seller never provided any tracking information, but those fears were quickly laid to rest when it arrived on my doorstep all the way from China in just 9 days!

Sheeny

Some details from my earlier post on the HV-50:

  • 50W per channel (stereo)
  • RCA inputs
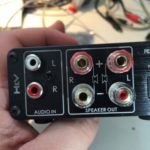
  • 5-way binding posts for outputs.
  • Based on the TDA7492 Class D Amplifier IC from ST Microelectronics.
  • Aluminum case.

The TDA7492 chip is used in a lot of compact, inexpensive audio amps made by various Chinese manufacturers and sold under various names on Amazon, Ebay, AliExpress, etc.

One such amp is/was the very similar looking SMSL SA-50 amplifier, which puzzled me, because when I first found the HV-50 listed on AliExpress, the seller listed it as an SMSL product. It wasn’t until I had it in hand that I realized that the eBay listing didn’t mention SMSL and there was actually no reference to SMSL anywhere on the product, or or the very thin users manual.

With some digging though, I found persuasive evidence that H&V is/was a new brand from he same company that produced SMSL. Given the price point, and product photos of the HV-50s internals, which showed signs of cost cutting, I assumed the H&V line would be a new, lower cost line, as SMSL seemed to be moving upmarket. Positioning the HV-50 as a lower cost alternative to SA-50 or A2 amps made sense when the HV-50 sold for $35-40, while the SA-50 & A2 were selling for roughly twice that. It makes less sense with the HV-50 selling for almost $60.

Looking more closely, the SA-50 seems unavailable from Chinese sellers on AliExpress and eBay these days. On Amazon, it sill goes for $60-70. The HV-50 seems to be in the process of being superseded. Aoshida, the source of my original amp seems to have both an eBay and and AliExpress presence. On AliExpress, they have a listing that pictures an HV-50 with a 24v power adapter for $42.28, shipped, but the listing is actually for a “TOE F1 TDA7492 amp” and notes that the housing may say HV-50, but it’s been “upgraded to TOE F1.” Their eBay store has a very similar listing, also for a “TOE F1 TDA7492 amp” for $53.00.

I think the HV-50/TOE F1 is a pretty good deal at $42 shipped with a power brick. At $50-60, that’s less clear. I’d probably pay another $10-15 for an SMSL SA-50. The reason? If the SA-50s shipping today are the same as those shipping a year ago (not a sure thing, given that SMSL changed the guts on the SA-36pro without warning, explanation, or acknowledgement) then they use some high quality film capacitors in key parts of the audio path.

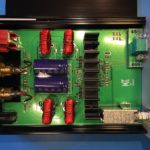
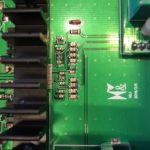
On the other hand, the HV is clearly a cost reduced design, as I suspected from the initial product photos, and confirmed upon receipt. It uses SMD ceramic caps for all but the main power supply caps. I personally think the cheaper caps work well enough. I don’t have an SA-50 to compare the HV-50 to, but while it’s possible they would sound obviously different, I doubt the SA-50 sounds noticeably better. For $30 less than the SA-50, I think the HV-50 is an obvious choice for those on a budget. For the current $10-15, price difference, it is much less clear cut.

What remains to be seen is if the TOE F1 is actually an upgrade, and if so, in what way? Will they adopt the film caps used by the SA-50?

Impressions

When powered up, a tiny click may be emitted from the connected speakers.

I noticed no obvious defects in sound quality. My main complaint is that the design & construction of the PCB-mounted RCA inputs doesn’t make good solid contact with the slotted, machined pins on some higher-quality RCA plugs, leading to noise or audo drop-outs. At first, I though the volume control pot was going bad. I ended up replacing the jacks with some gold-plated panel mount jacks with better design/construction. Interestingly enough, while the original part has trouble with higher-end RCA plugs, it has no problem at all with inexpensive stamped & rolled RCA plugs.

Speaking of connections, the speaker output binding posts are small, but work well with banana plugs, spade connectors and properly trimmed and stripped speaker wire (to avoid shorts).

Caveats

There are a few important caveats about the HV-50, which may or may not apply to the TOE F1:

First, it’s important to understand that the generation of class D amplifier chips like the TDA7492 used in the HV-50, along with the more powerful TDA7498, and the comprable TPA3116, all have consistently inflated power ratings. These ratings are often used in the specs of cheap amps built around such chips.

The inflated ratings aren’t exactly inaccurate, its just that they only apply under unlikely listening conditions. They assume a power supply voltage near the top of their operating range which ends up being 24v for the TDA7492 and TPA3116. This isn’t an issue with the HV-50, which comes with a 24v supply, but can come into play when using ~19-20v laptop adapters. The tests are often performed with ~4 Ohm loads, while lots of home audio speakers are closer to 8 Ohm, and peak power output would be ~50% of the advertised number. The finally issue with the ratings is that they allow up to 10% distortion, a value that most people will find unlistenable. Values are generally also given for up to 1% distortion, which most people will find suitable. The corresponding power ratings are ~50-60% of the advertised value.

In sum then, the usable power of the HV-50 and similar amps with a suitable power supply  is 50W * 50% (for 8Ohm speakers) * 60% (for reasonable distortion levels), which works out to 15w/channel. This may seem much less impressive, but it should be enough power to push most consumer bookshelf speakers close to their (and your) limits.

Second, the HV-50 does not, as claimed in the Bangood listing and elsewhere, contain parts from EPCOS, Philips, ALPS, DALE, etc. The volume control pot seems like a cheap, but adequate generic Chinese part, and the capacitors in the audio path are all SMD ceramics.

Conclusion

Bottom line: The HV-50 is a decent, inexpensive Class D amp if you can get it shipped with PSU for ~$40. Whether it is a good choice vs an SA-50 or similar really depends on the price difference at current market prices.

Photos

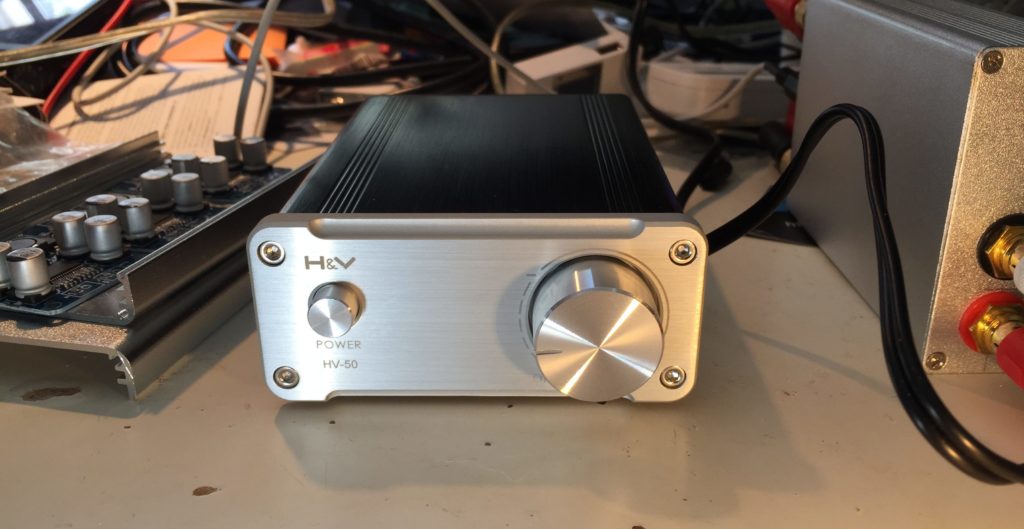
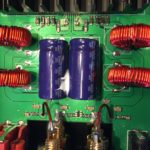
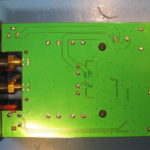
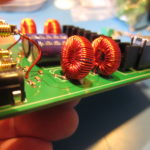
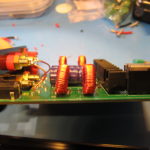
And finally, the main purpose of this post wasn’t writing a wall of text, it was sharing photos of the guts of my HV-50.

Dismal Ebay AVR DDS Signal Generator

Months ago, I bought a $15 AVR-based DDS signal generator kit from eBay. I didn’t have high expectations, but I thought it would give me a capability I didn’t currently have, and give me the chance to practice soldering.
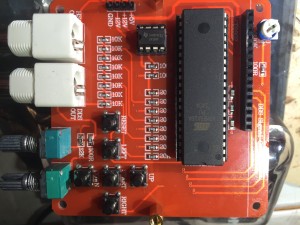
It was immediately clear upon opening the package that it was at least half a failure, because it was fully assembled. For this, I got a partial refund, making it a ~$10 fully-assembled DDS signal generator.

It sat a few months while I acquired, refurbished, diagnosed, and ultimately repaired a used Power Designs TP340A three output bench power supply that I could use to provide the +15, -15 and +5V needed to power it.

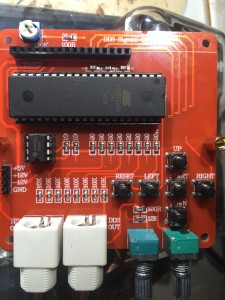
Once I had it powered up and hooked to the scope, it took me 5-10 minutes to figure out how the thing worked. The digital controls are a little odd, but easy to figure out. The outputs and analog controls are a little fussier. Ultimately though, I figured out that the leftmost BNC is for a high-speed square-wave output. The right BNC is for the synthesized DSS output, the leftmost potentiometer is for amplitude, the right for DC offset.

IMG_8201

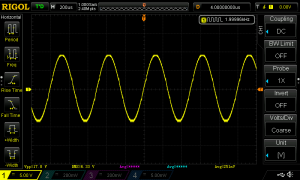
It didn’t take too much longer to see how badly this thing sucks. At first glance the 2 KHz  sine wave doesn’t look too bad

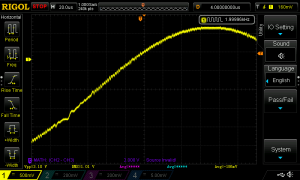
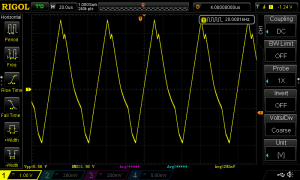
DS1Z_QuickPrint34If you look closely though, you see some consistent glitches. This thing generates an analog value by switching resistors using the AVRs GPIO pins. My guess is that this glitch is caused by one or more out of tolerance resistors.

DS1Z_QuickPrint33

Looking even more closely, you can start to see high-frequency noise. In his Youtube review (embedded below), Electron Update notes that this noise has a frequency of 1MHz and believes that this is probably noise from the digital section.
DS1Z_QuickPrint46

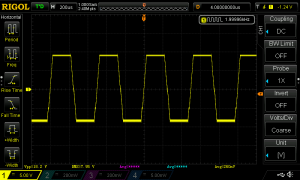
The 2KHz square wave isn’t too great. The rise and fall times are rather significant relative to the on/off times.

DS1Z_QuickPrint45

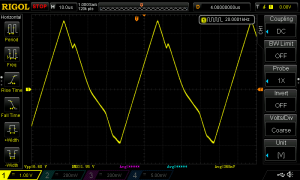
At 20KHz, the square wave is a sloppy triangle. Note too that the peak-to-peak amplitude is only 6.56v vs the 18.2 it delivers at 2Khz.

DS1Z_QuickPrint41

The “high speed” 20KHz sine isn’t very good either. The waveform is nearly identical to that of the 20KHz square wave, and like the square wave, the peak-to-peak voltage of ~6.6v is a fraction of the 17.8v excursion at 2KHz.

Of course, 20KHz isn’t really high-speed at all. Its at the top end of the human auditory range. The device actually supports up to ~65KHz. It doesn’t get better.  The truth is, the waveforms go to hell before 10KHz.

IMG_8201

My device seems to be based on the AVR DDS signal generator V2.0 software and hardware from 2008, with minor revisions to the hardware for manufacturability.

Electron Update did a review/analysis of a similar device based on the same design on his youtube channel.

The design has some fundamental limitations, thought it isn’t clear if some of my problems are specific to my unit.


Fish8840 AVR Transistor Tester Review

Today, I’m looking at a neat gadget I got on ebay for about $20 called the “Big 12864 LCD Transistor Tester Capacitance ESR Meter Diode Triode MOS NPN LCR.”

There are hundreds of listing for dozens of variations of these under different names, for prices ranging from ~$12-40.  Most, if not all of them, are made in china. Most, if not all of them, are descended from the AVR Transistor Tester project by Markus Frejek (or google translated), with further improvements by Karl-Heinz Kübbeler (or google translated). Unforunately, none of the Chinese clones honor the projects license and release source-code for their firmware modifications. Fortunately, people are figuring out the hardware differences on some of them, and adding support for to the open source project. The english language documentation for the project is great. It actually includes information on some of the chineese clones. Even better, the design and documentation are a great example for learning how to make good use of the hardware on an AVR MCU.

The Fish8840 version I have, which has a PCB date of 2014-07, has stupid bug in the power-management circuitry which causes it to have excessive current drain when it is supposed to be “off.” This video review by George Thomas of AmateurLogic.tv includes a simple modification that fixes the problem.

I didn’t really love this one. In addition to the flaw described above, some of the graphics are hard to read. Plus, there are rumors that the hardware is locked to block installation of different firmware.

For more information: