I was just looking at unfinished posts and noticed that I’d taken, but not published, a bunch of notes I’d made earlier this year in hopes of hacking better firmware onto the Digoo BB-M2 WiFi PTZ Security Camera.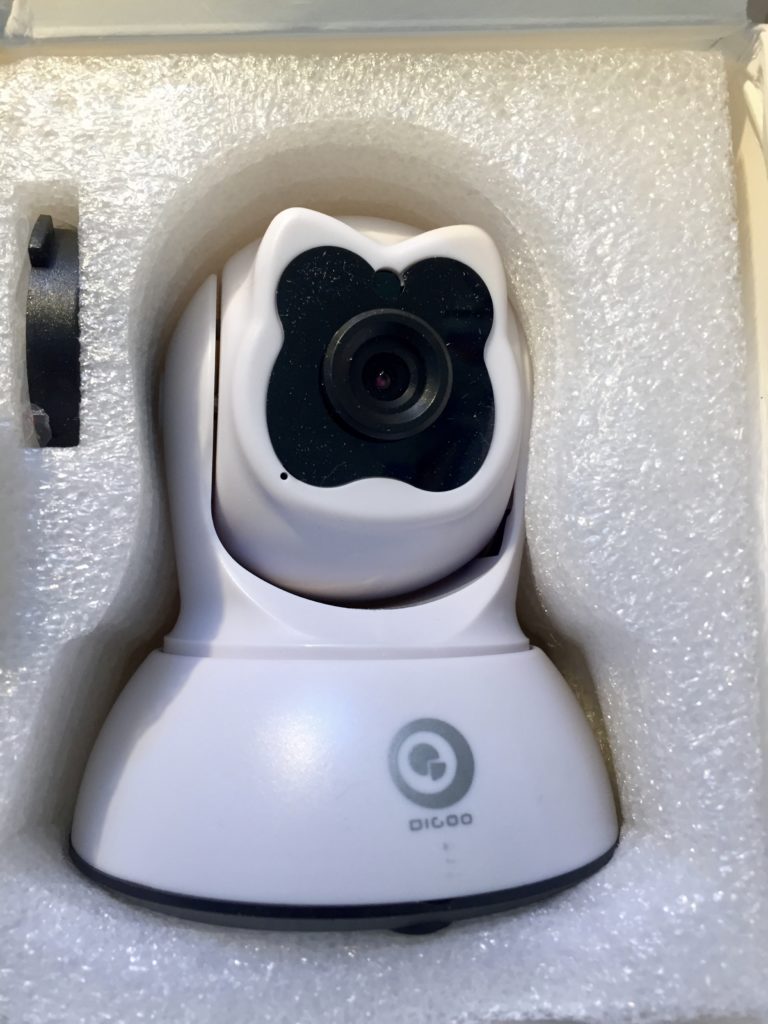 I gave up on the quest, but here are my notes, with minimal editing.
- Someone’s notes on hacking the BB-M2 starting with finding the serial port.
- Onto the boot process, shows it uses UBoot 2013.07 built 9/22/16 with Kernel 3.10.14 compiled same day.
- Gaining root!
- Analysis of internet traffic
- Someone hacking an older, but similar camera (not too similar though, it uses HiSilicon).
- Hack of another similar seeming camera.
- “apk-link login” seems to reference a type of webcam
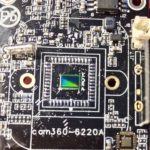
- Board marked “hsl_a73_rf433_mb,” and “cam360-6220a”
- This looks like the same or a similar device. Perhaps the OEM?
- Comparison to Veksys camera, also Wanscam HW0036
Someone mentioned that the Chinese language page for Netcam360 has a link to the IPC-SDK. When I downloaded it and looked inside, I saw client-side code, but there was also a self-extracting archive called “HSmartLink Win32 SDK” and I remembered the PCB marking started with “HSL.” Searching for HSmartLink brings up hsmartlink.com, which, among other things, has IP webcams! The i9812 looks like a good match for my camera!
Unfortunately, no sign of any firmware updates. I checked the .cn version of the site too. It doesn’t seem as up to date on products (i9812 isn’t listed), and while there is more info in support section, it is still quite sparse. Page that looks like it is intended to link to downloads hasn’t been updated since 2015
Company is “Shenzhen Hsmartlink Technology Co. Ltd”
FCC Database listing for company
So what is the relationship to NetCam360 (check whois & IP ) and they mysterious APKLink?
Nmap Pobe
Starting Nmap 7.40 ( https://nmap.org ) at 2017-02-06 18:38 PST
Nmap scan report for 10.31.1.124
Host is up (0.0043s latency).
Not shown: 998 closed ports
PORT STATE SERVICE
23/tcp open telnet
81/tcp open hosts2-ns
MAC Address: E0:B9:4D:8F:61:6C (Shenzhen Bilian Electronicltd)

Nmap done: 1 IP address (1 host up) scanned in 0.49 seconds
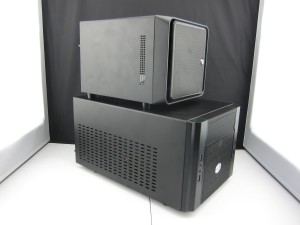
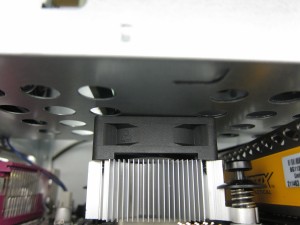
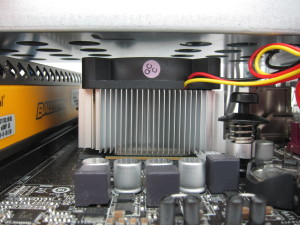
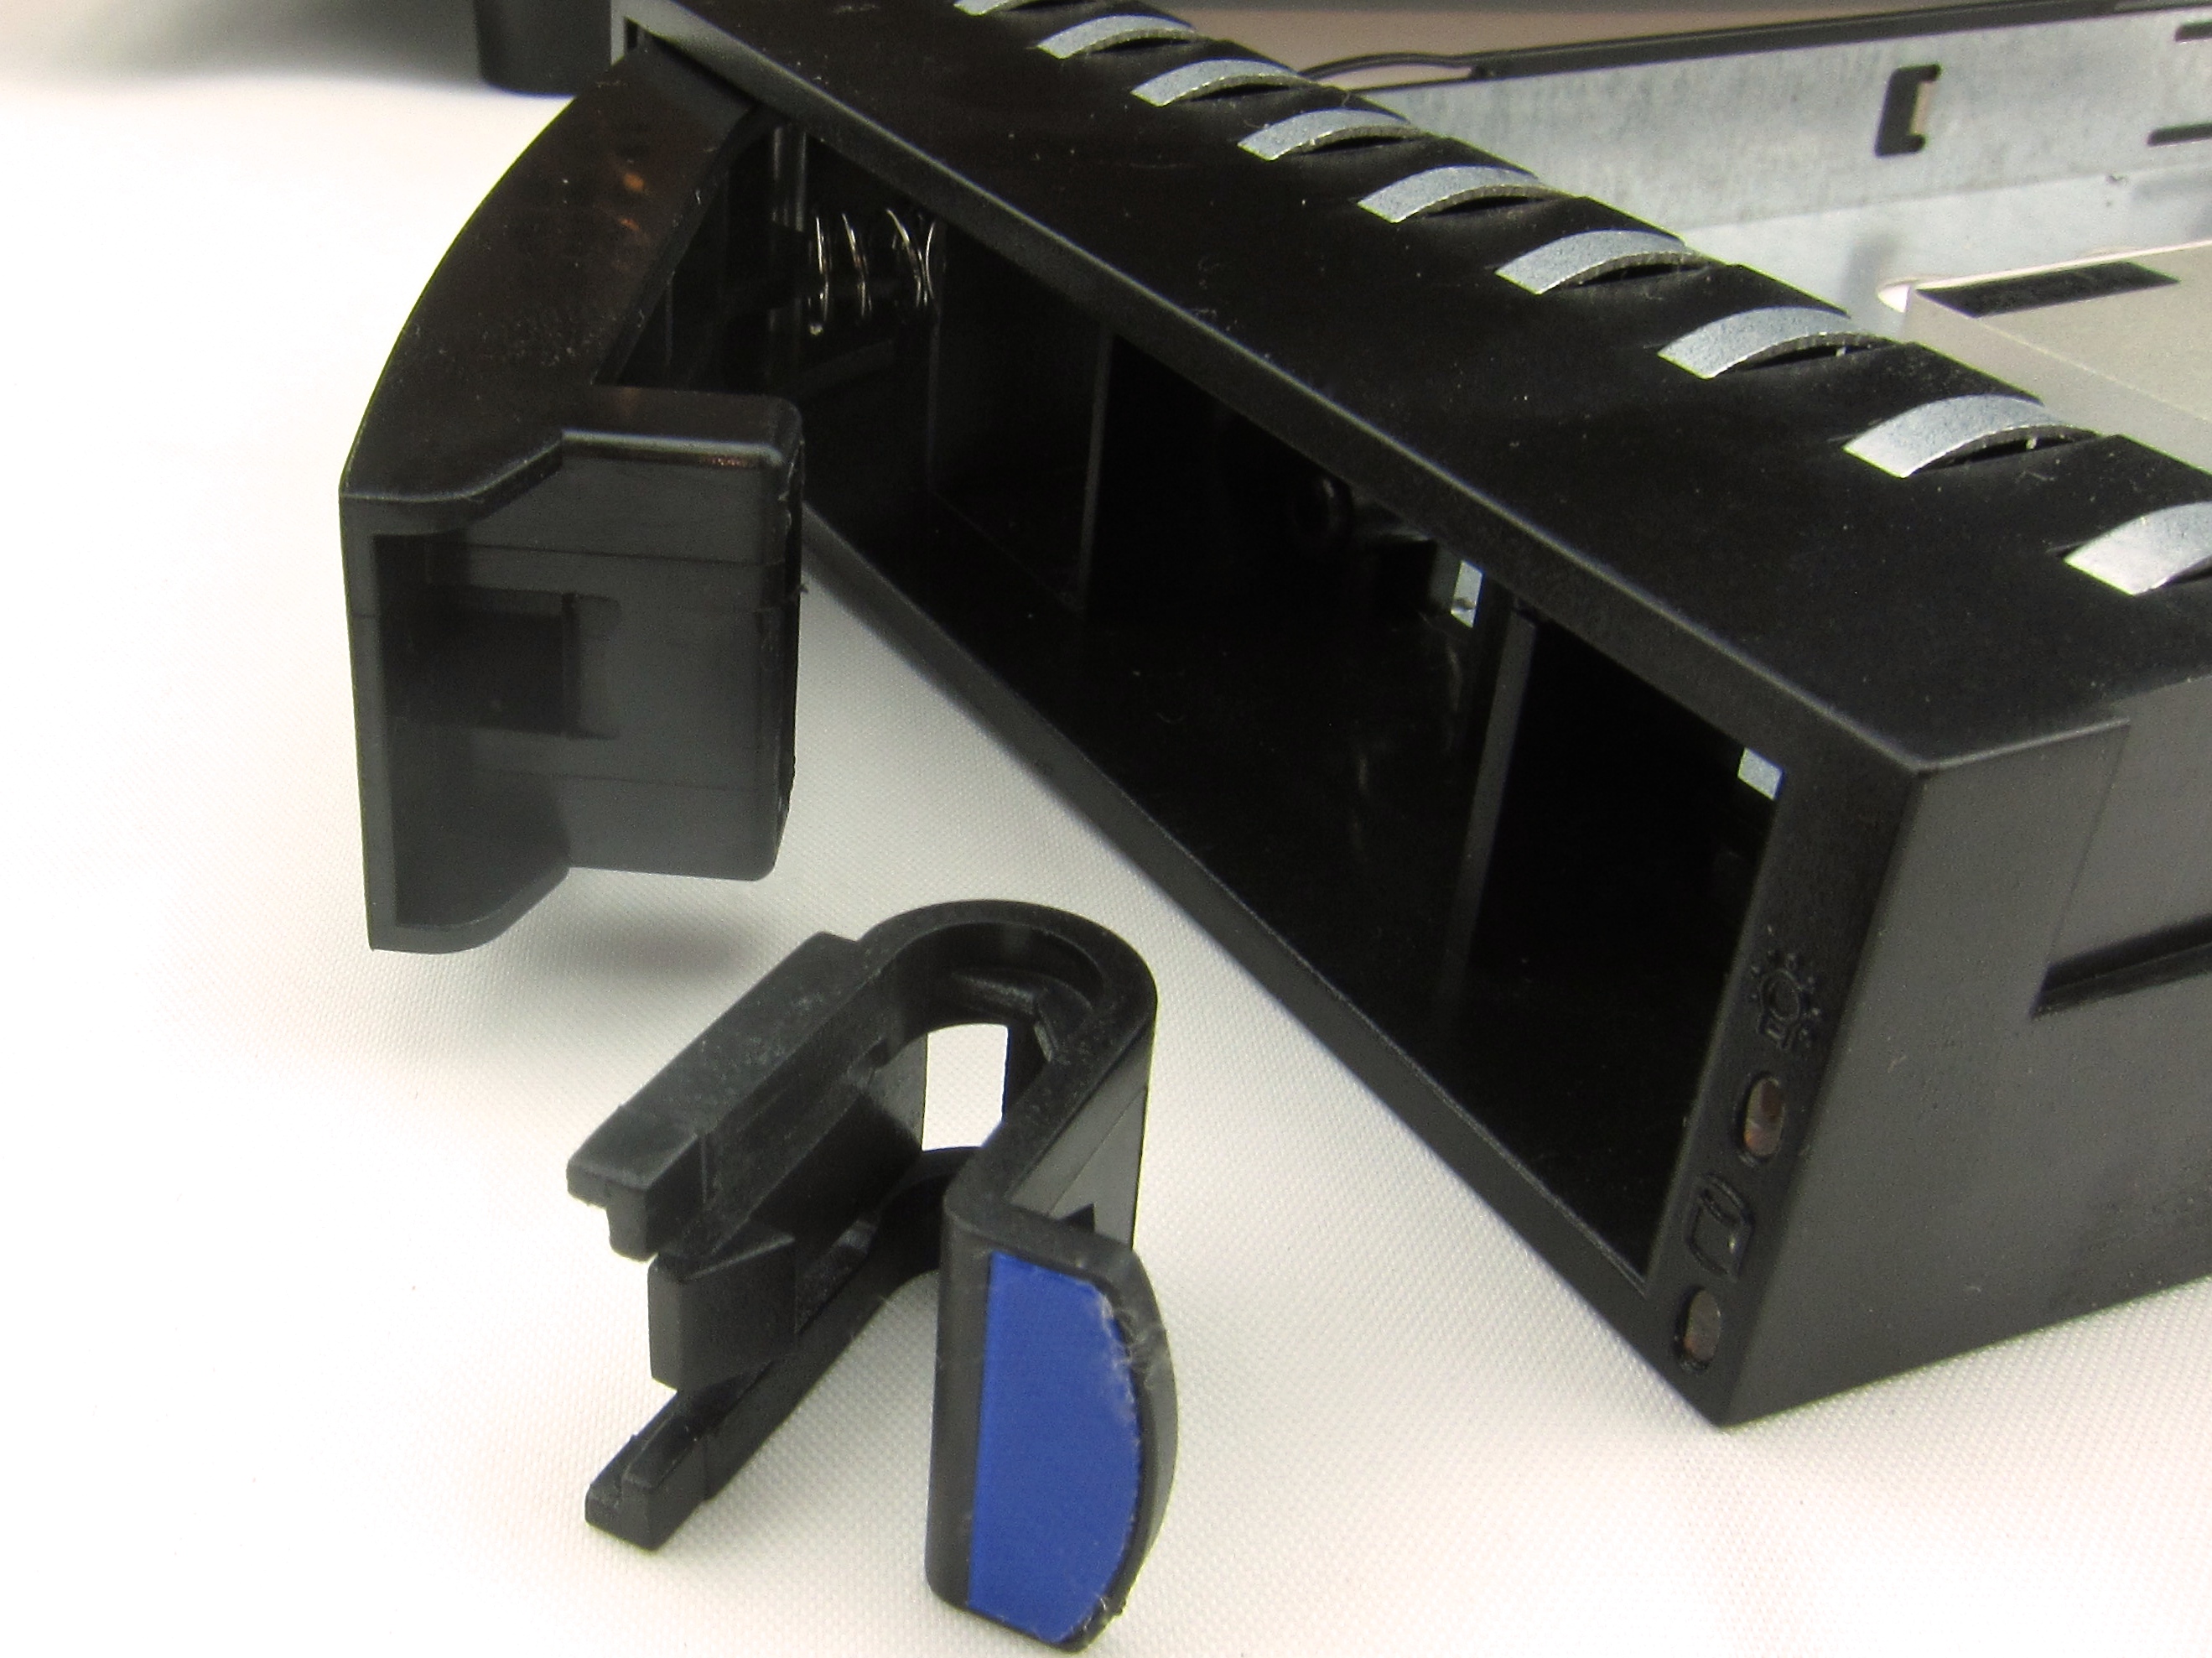
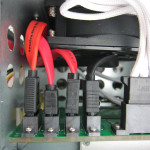
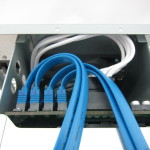
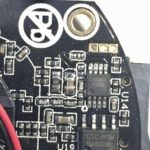
Teardown Inventory
Photos
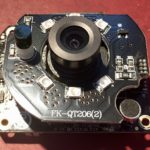
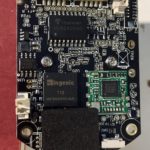
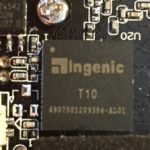
Ingenic
- T10 6907001209304-AL01
- Ingenic Product Page
- 64MB onboard memory
- Mentions Linux 3.10 kernel
- Ingenic Repos (out of date)
- CNX Software
- Imagination tech overview
- May be worth digging around in the DevSupport folder here ftp://ftp.ingenic.com & perhaps better, ftp://ftp.ingenic.cn
- https://www.linux-mips.org/wiki/Ingenic
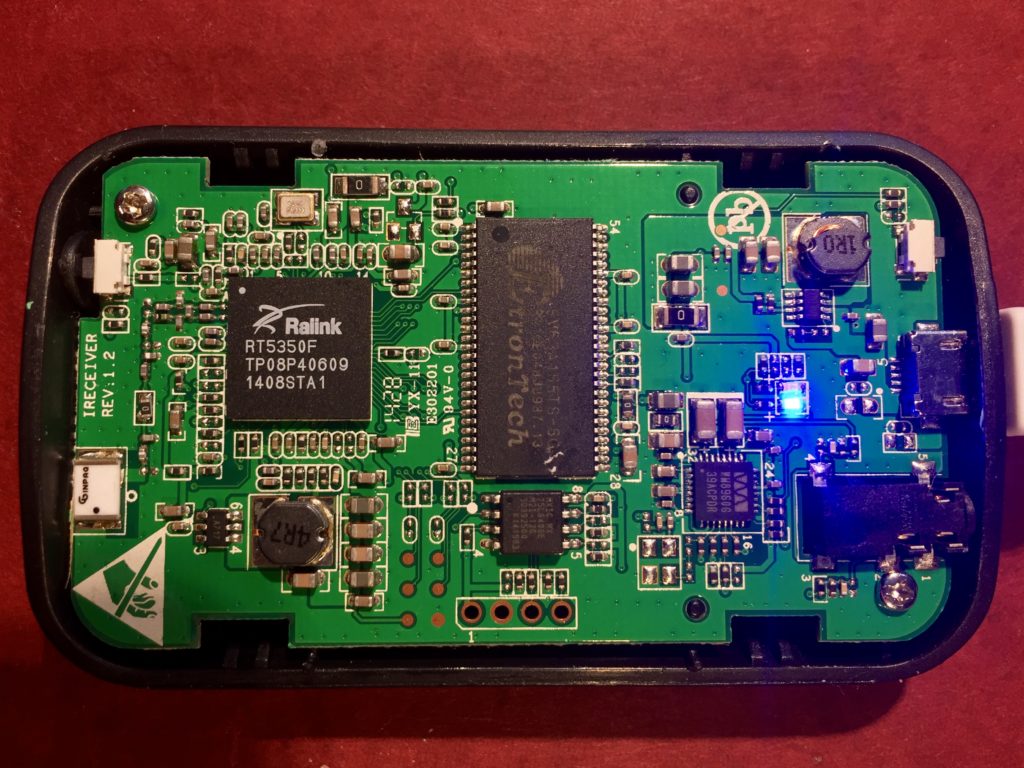
Module with Mediatek MT7601UN
- MT7601 IC markings 1643-BWJL, CTPHU35
- 2.4Gh 1t1r 802.11n WiFi adapter chip. U-Suffix indicates USB2 Interface But it also refers to an efficient DMA engine and accelerators that offload the host processor.
- https://wikidevi.com/wiki/MediaTek_MT7601U
- Alibaba Listing. Another, this one with different PCB markings but same layout.
- OEM?
- Datasheet
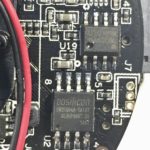
Unknown
- 15UDN8WY, ULN2803AG 18Pin in 2-row SMD
- Darlington Transistor Array: http://www.ti.com/lit/ds/symlink/uln2803a.pdf
- Probably used for driving PT motors
Atmel 542
- 24C02N, SU27D
- AT24C02
- Two-wire serial EEPROM (2K)
Vertical PCB
- SF1810-002, www.sufeitech.com. PCB antenna?
oosilicon or dosilicon?
Other
- LM4090S, M16280, 8-pin narrow pitch SMD
- UTC HYTM, BA6208L, 81, larger 8-pin with wider lead spacing than aboveSMD
- Unisonic Technologies BA6208 Reversible Motor Driver