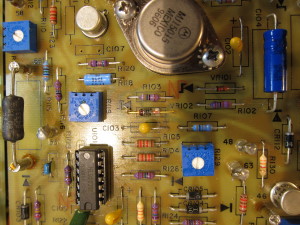
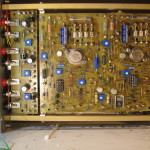
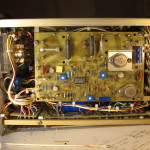
Previously I wrote about my clumsy efforts to refurbish a TP340A triple-output bench power supply I bought on eBay. The seller listed it as used, implying it was fully functional, but I was skeptical and opened it up to check it over. I found a bad electrolytic capacitor, and decided to replace all of them. In retrospect, I should have asked the seller for a partial refund, but I didn’t.
After I finished replacing all the electrolytic caps, things didn’t seem quite right. Source A seemed fine, but when Source B was set to track Source A, its voltage didn’t rise until Source A reached ~8V, at which point Source B jumped from ~0v to ~8v. It then tracked with Source A until reaching ~16V, and then started dropping off again.
So I started working through the troubleshooting steps in the manual and checked the regulated B+ voltages measured on capacitors C104 (Source A) C204 (Source B), and C304 (Source C) are stable and fall within 12.4v DC and 13.2v DC.
B+ Voltage
Source A: 12.61v
Source B: 12.26v
Source C: 12.04v
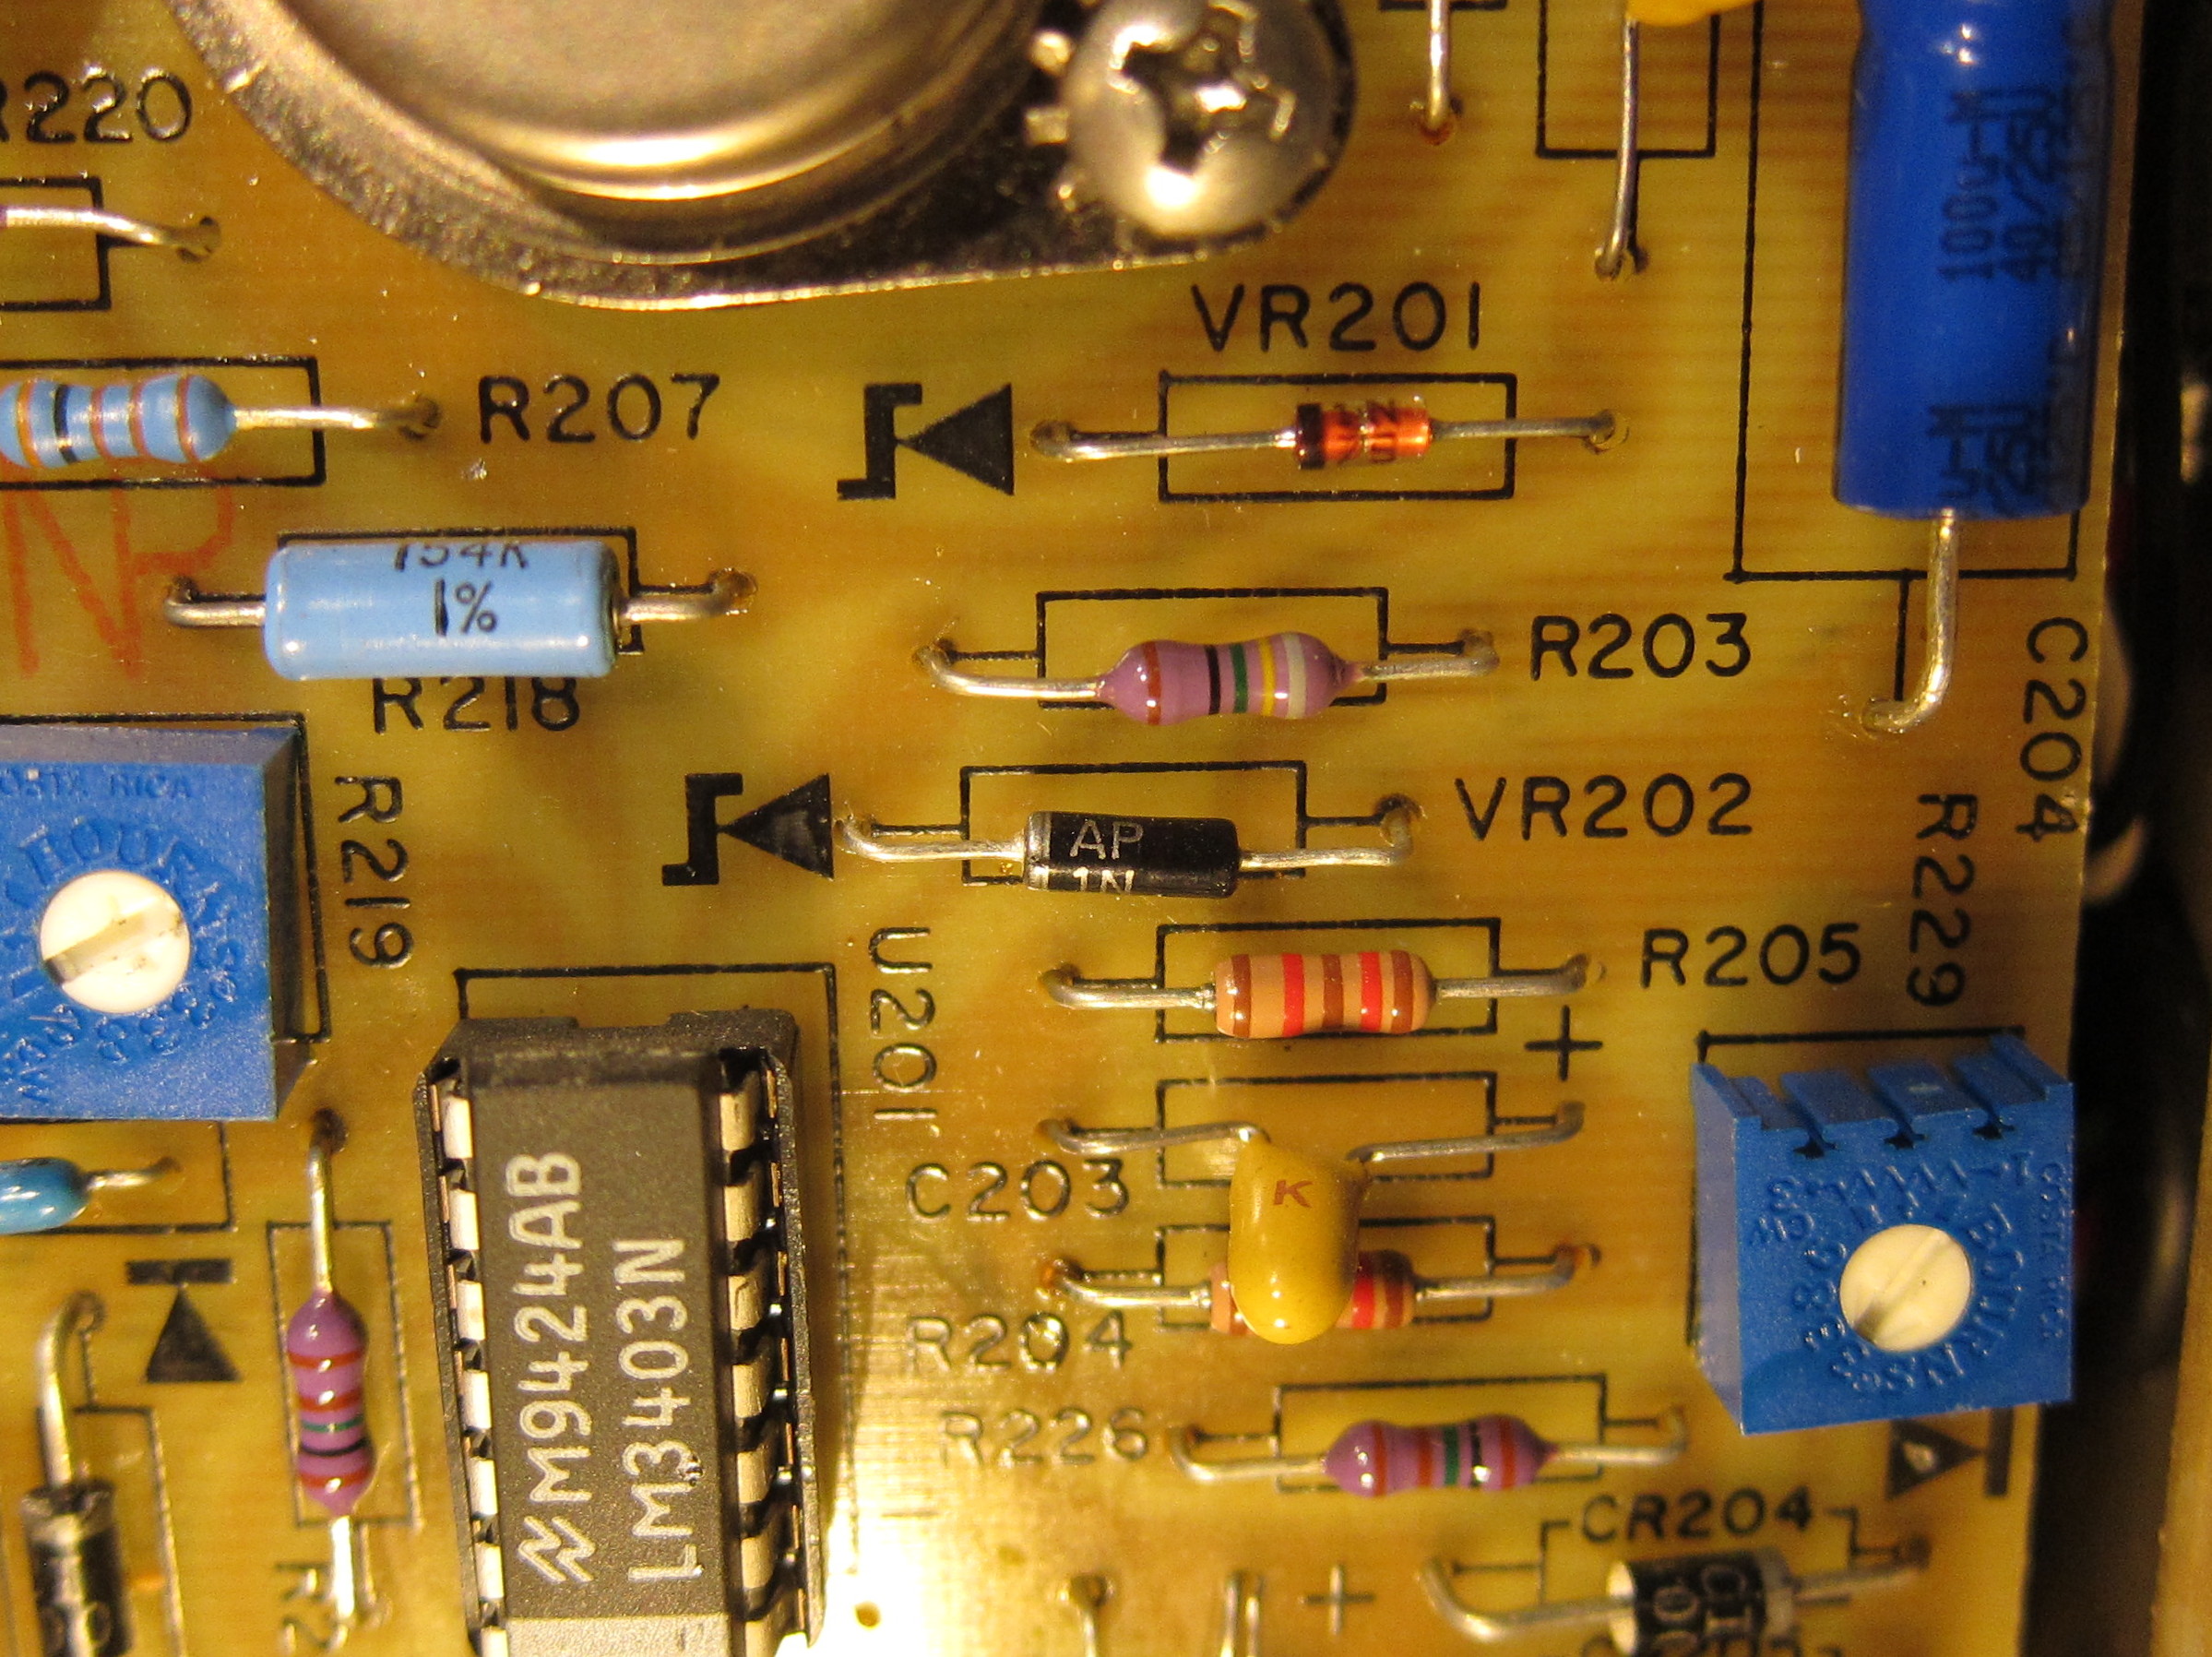
Clearly something wasn’t right, the values for Source B & C were out of spec. I continued by checked the voltages across the zener diodes VR103, VR203, and VR302 (nope, VR302 is not a typo).
VR103: 5.682v
VR203: 1.728v
VR302: 5.688v
Better here, in that two of the values are in spec (5-5.8v), but the value for Source B is WAY out of spec. Next steps, according to the manual, are to check for defective components, in order, capacitors C201-204, rectifier diode CR201, transistor Q201, VR201, VR202, VR203, and U101.
I’d already replaced C201 and C204, so I skipped that. I didn’t have great tools for checking components in place, so rather than starting to remove and test them, I first measured other components.
Main Source Reference Voltage
VR102: 6.31
VR202: 6.126
VR303: 6.010
These should fall between 6.26 and 6.52v. Only Source A is within spec.
VR101 5.629
VR201 5.639
VR301 5.619
These all check-out, falling in the range of 5-5.8v as they should.
I lifted a leg on C202 and C102 so I could compare the values. I measured them with my AVRTransistortester with some test clips on leads.
C102: 1093nF, 6.9Ω ESR
C202: 1085nF, 1.0Ω ESR
Different, but different enough to be responsible for the other symptoms? I didn’t have any idea, soo, I ordered some 1µF, 50v Kemet Tantalum capacitors and replaced C202 and C203 with them. The result? No obvious change.
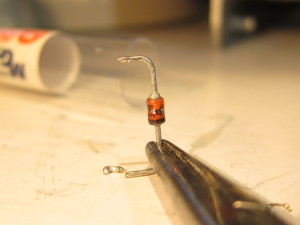
Next I wandered even further off the troubleshooting guide. I pulled VR202 to test it. As it turns out, I tested it to failure. No problem, right? Zener diodes are cheap and plentiful. I thought I probably had a suitable replacement in a semiconductor assortment I bought a few months back. Nope, nothing for that voltage. Time for another cycle of selecting a replacement, ordering it, and waiting for it to arrive.
Well, it turns out, selecting and ordering a replacement was a little harder than I expected. According the the manual, VR102, VR202 and VR203 are 1N825 zener diodes in grades G through K. Type 1N825 zener diodes aren’t run of the mill parts, they are part of a family of temperature compensated 6.2v zener diodes.
The family is made by creating a zener and a regular diode on the same piece of silicon in opposite orientations. In operation the negative temperature coefficient of the forward biased diode helps balance the positive temperature coefficient of the reverse-biased zener. The diodes are then burned in, characterized, and selected for appropriate temperature compensation. The 1N825 has a maximum temperature coefficient over its operating range of 0.002%/C. The family has the following temperature coefficients:
1N821: 0.01%/C
1N823: 0.005%/C
1N825: 0.002%/C
1N827: 0.001%/C
1N829: 0.0005%/C
There are also parts with the A suffix apply, which means they have maximum dynamic impedance of 10 Ohms, rather than 15 for the other grade. These were state of the art when they were introduced in the 60s, and have had a long run (my power supply was manufactured in the mid 1990s), but they’ve been superseded by other voltage reference designs.
In my initial searching, I only found references to 1N825A parts, not 1N825G, 1N825H, 1N825I, 1N825J or 1N825K, as described in the Power Designs part list in the manual. I figured they were probably proprietary Power Designs designations, but I decided to dig around more just in case. To help in that effort, I looked closely at the actual markings on the diodes. It didn’t help much.
AP
1N
825
The only new information was the “AP,” probably a manufacturer code, and the absence of the A suffix. My best guess is that the manufacturer code might be for American Power Devices, which manufactured 1N825 diodes.
In my wanderings, II found someone who claimed, based on experience, that newer 1N825 zeners had more problems with noise. At least, I thought I found someone who claimed that. I can’t find the source now. In any case, based on that, perhaps imagined, information, I decided to go looking for new-old-stock parts, rather than new parts from Mouser or DigiKey. I found someone on ebay selling Motorola-made military-spec 1N827 parts on ebay in lots of 4 for about $10 with shipping. Given my poor track record of ruining parts, I decided to buy 8.
With the new diode in place, I was back to where I started. Time to do the obvious thing and check VR203, the zener diode that was running at 1.7v, rather than the ~5.6 specified. The part number for this in the manual is 3EZ5.6D5. Without much effort, I found this number in an old Motorola diode catalog. Motorola’s spec is Glass, 5.6v, 134mA test, 500mW, 480mA max, and they cross reference it with the industry standard 1N5014.
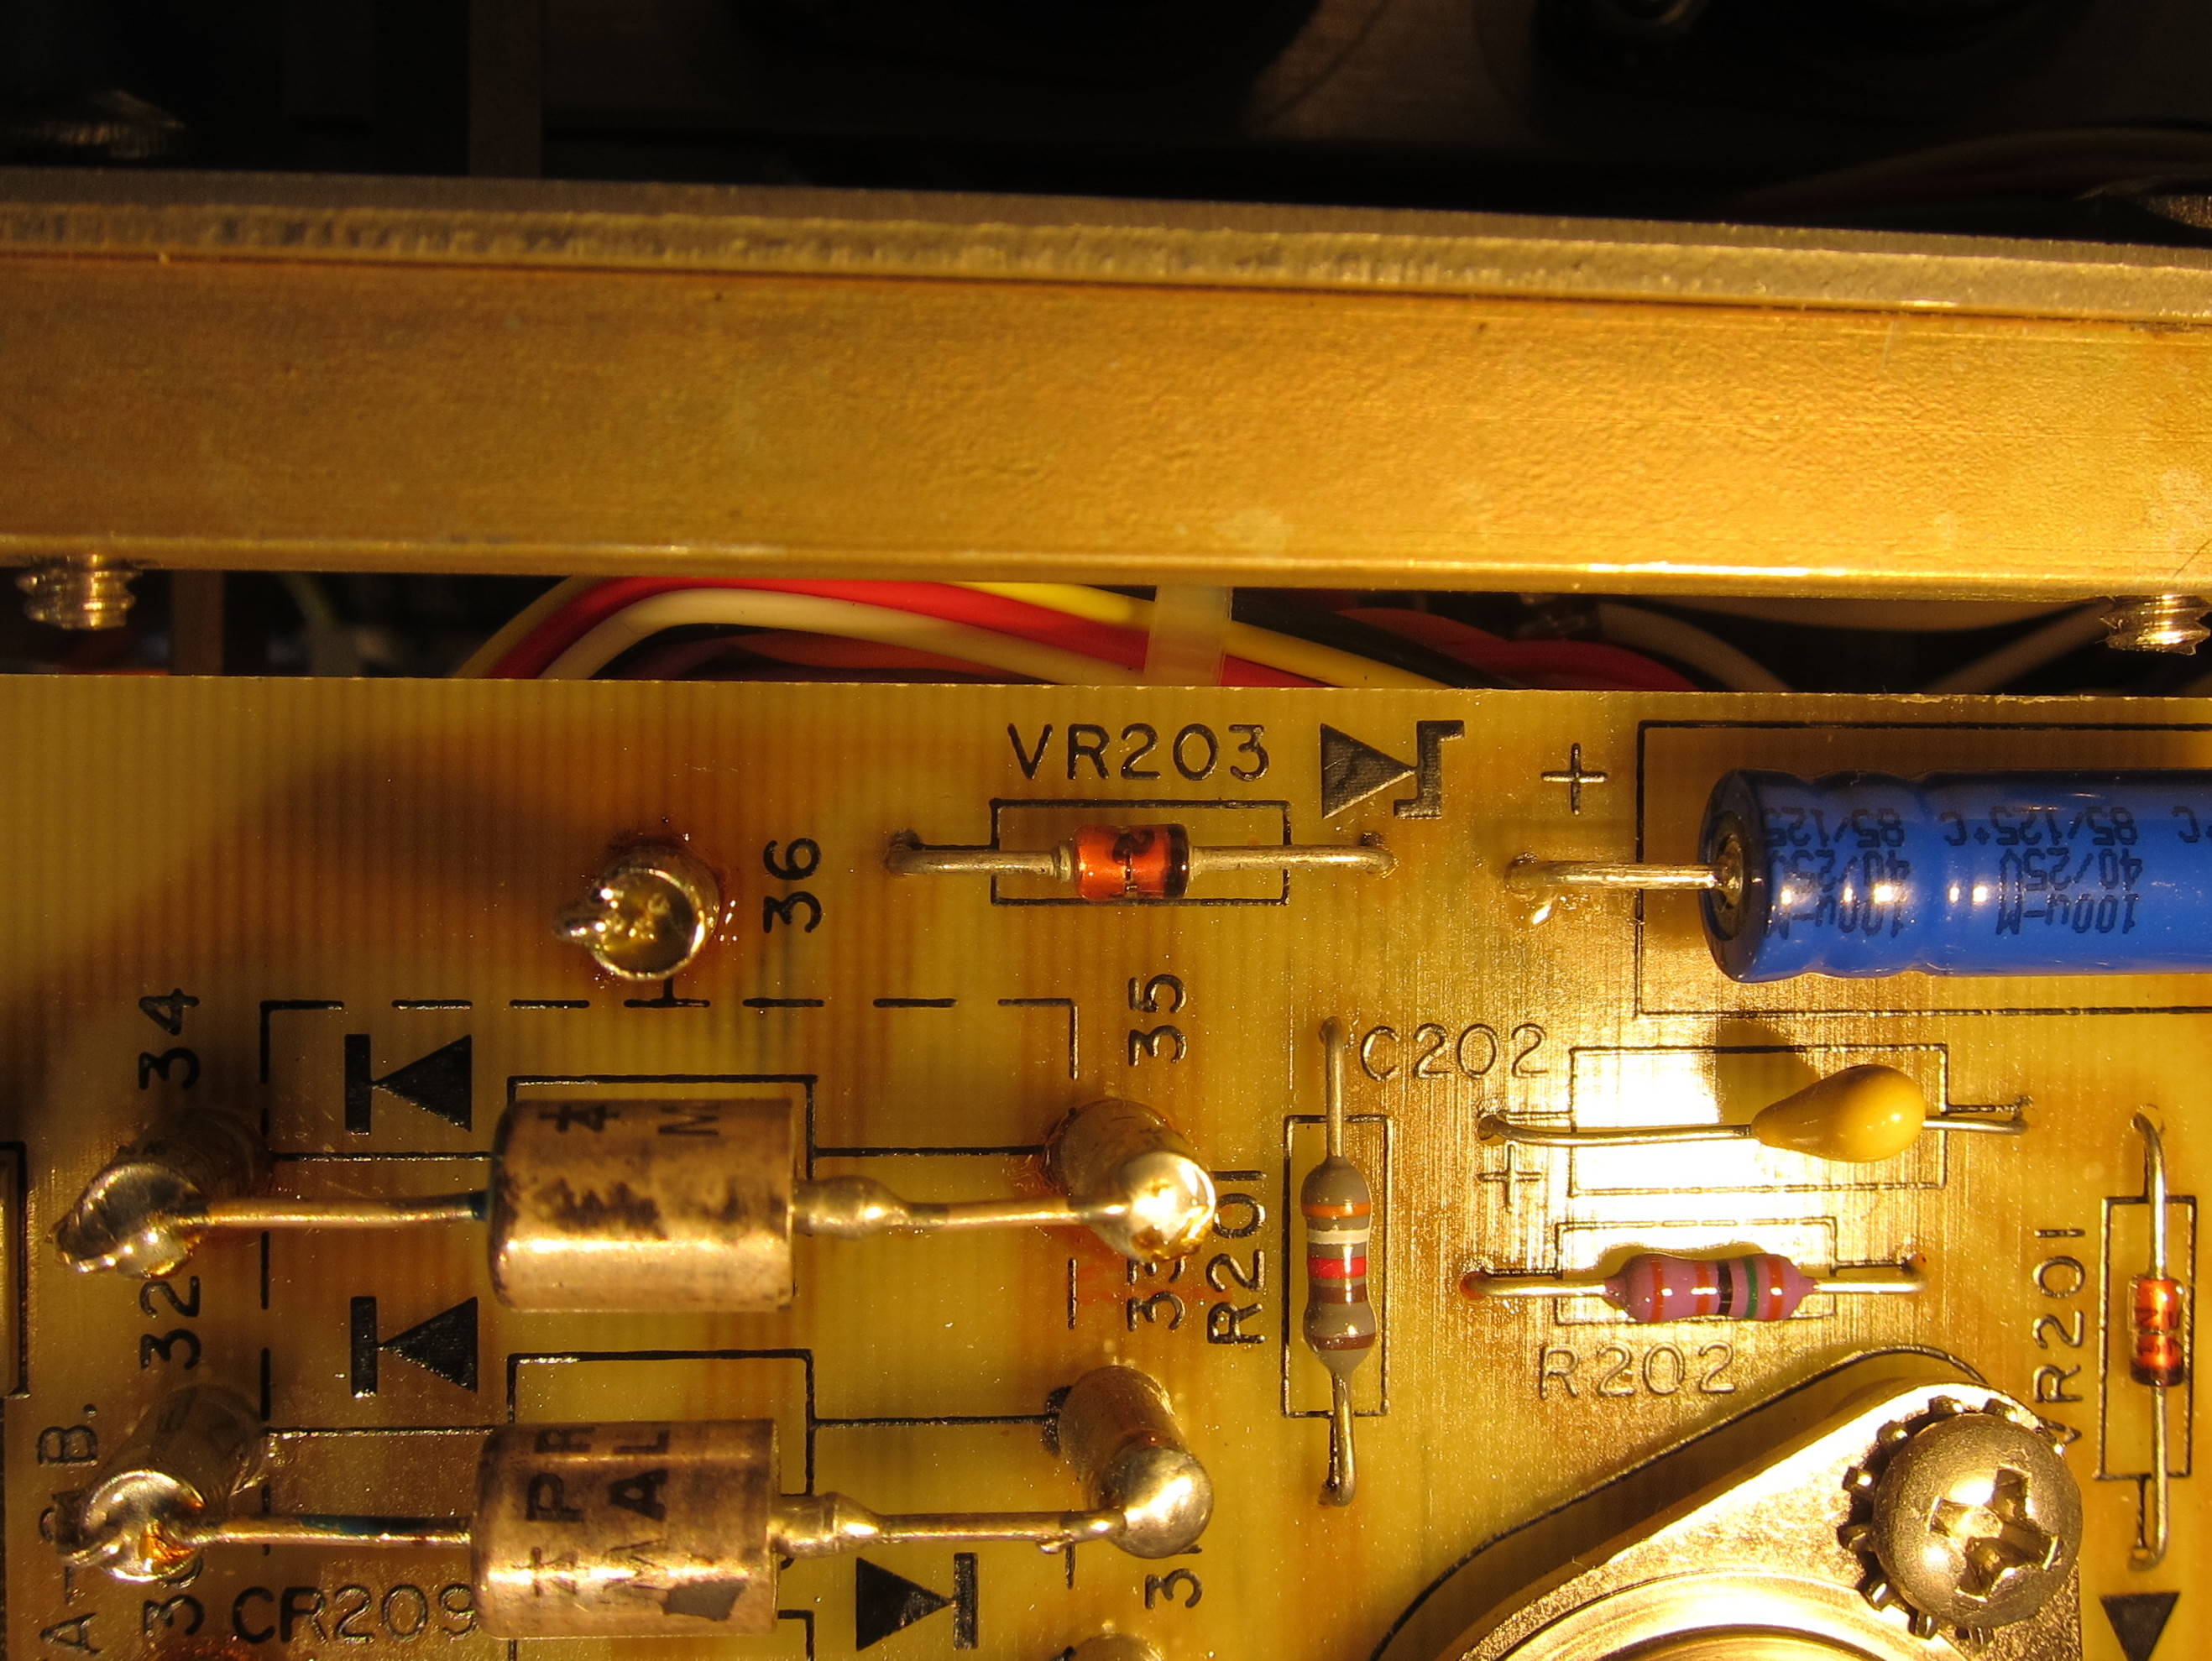
Time to check the actual part. I desoldered it to check it and test it. This time I avoided ruining the thing, helped, perhaps in part, by the fact that it was clearly already ruined. Time to figure out a suitable replacement.
I checked the diode for markings. My eyes have gone downhill quickly in the last couple of years, so I deployed some optical assistance to determine that the diode was marked with the following.
1N
47
34
A
There was also a logo, which looked a lot like an older National Semiconductor logo. That made it a 1N4734A zener diode, not a 3EZ5.6D5 or a 1N5014. The 1N4734A is also 5.6v zener like the 3EZ5.6D5, but the test current is only 45mA. I ordered some NXP (successor to NatSemi) 1N4734A zener diodes from Mouser and, again, waited.
A few days later, the package arrived. I soldered the replacement zener into place, and plugged the PSU in, powered it up, and checked the voltages again. Success! Source B’s voltages were now in spec! On to Source C!
With source C, rather than checking caps and whatnot, I went right to the component that was out of spec, VR303, which had a voltage drop of 6v, rather than the specified 6.2-6.5v. First thing I had to do was double check the schematic to make sure I was looking at the right component. Most of the components in this section of all three sources have similar labels to the analogous parts in the other sources (ie C101, C102, C103) but for some reason, they broke this convention with the main voltage reference for Source C, VR303, rather than VR302.
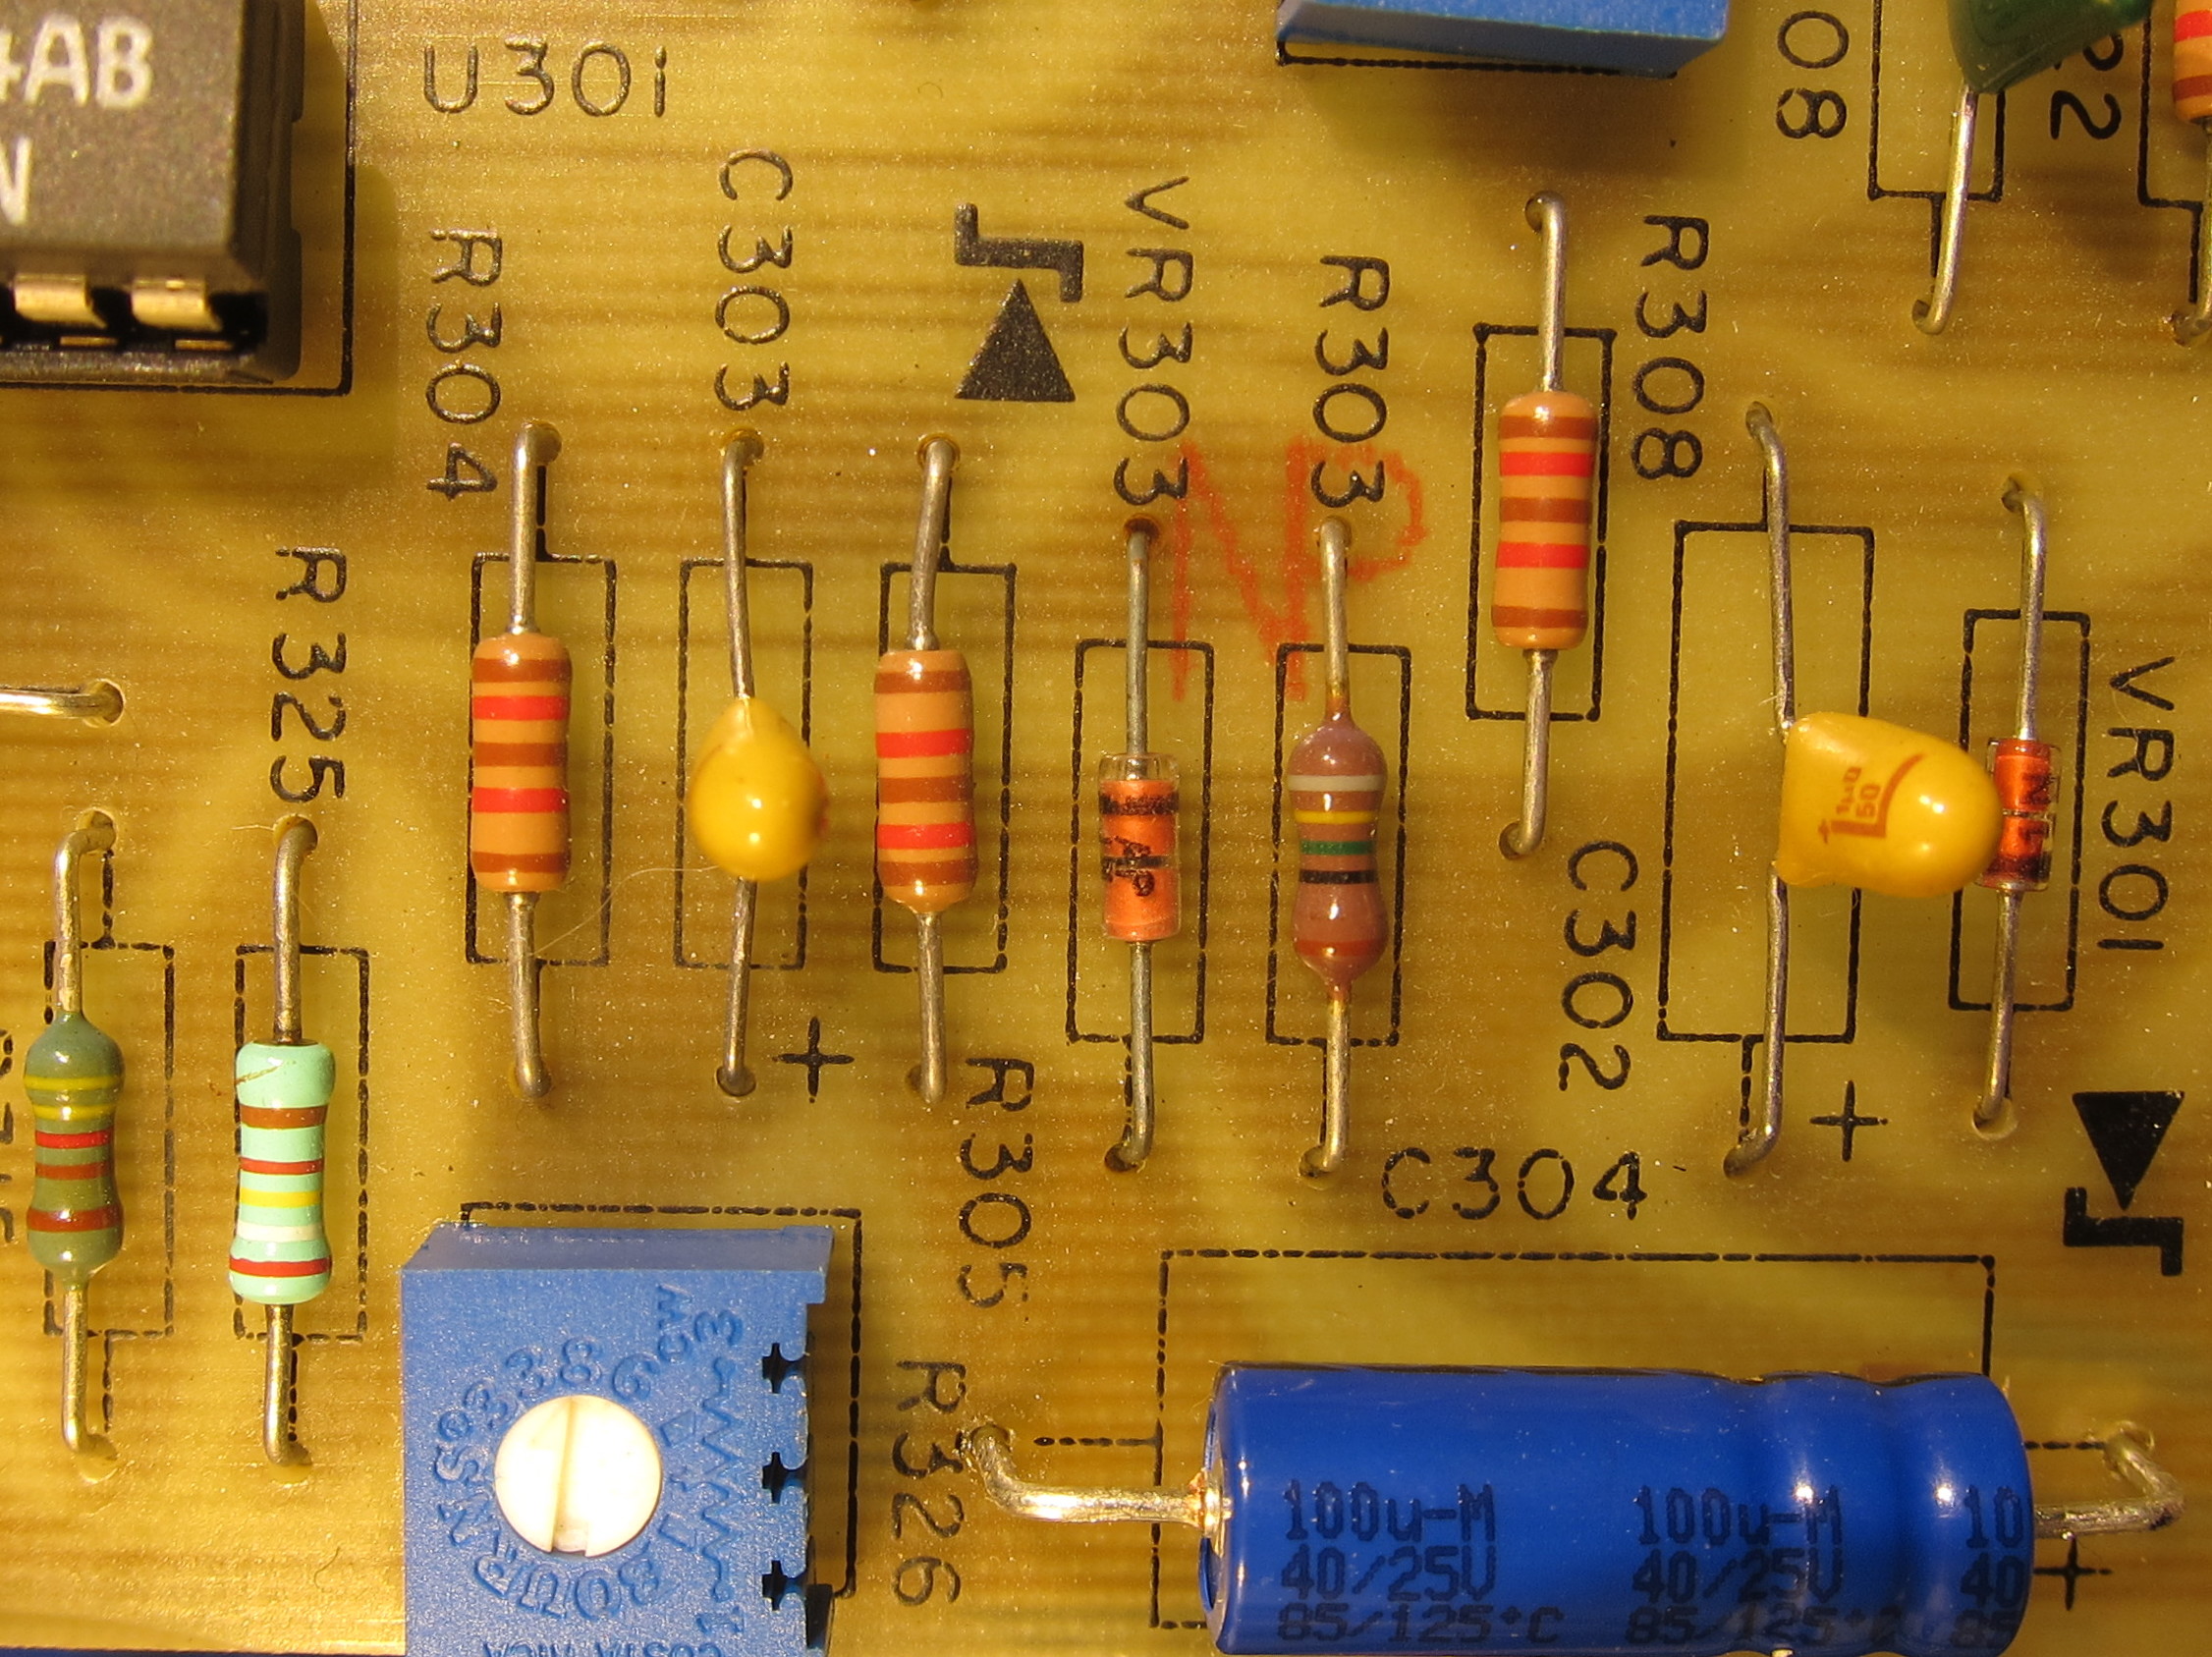
Apparently I’m not the only one who got confused. I had to check I was looking at the right component, again, because while this was supposed to be a 1N825 like the others, it didn’t have the same thin black package and slender leads. In fact, it looked a lot like the 1N4734As I’d just dealt with. Once I pulled it out and got it under a magnifying glass, I saw that it was, indeed, a 1N4734A. I wonder who made the mistake? Most likely it was a botched repair.
Installed one of the extra 1N827s to fix the mistake, and decided to replace V102 as well, so all three channels would have similar parts of similar vintage and tempco for their main voltage reference.
This time, when I powered it up, all the voltages were in spec. I did a little load testing and things seemed to check out. No more strange behavior with Source B lagging Source A in tracking mode, and it was able to deliver full voltage and full current on all channels. I moved on to calibrating the meters, adjusting the maximum voltage, and correcting the tracking offset.
I felt giddy, I’d fixed it! I was done, or so I thought. The next morning though, the sun woke me up early. As I was trying to fall back asleep I thought of something that had happened while I was adjusting the PSU the night before. I wasn’t done.
Pingback: Dismal Ebay AVR DDS Signal Generator | Tech Obsessed
Pingback: Power Designs TP340A Continued and Concluded | Tech Obsessed